Implementing a monitoring system like GrowGuard is not just about mounting sensors and leaving them in the crop. The first 30 days are where you build the foundation: locations, practical calibration, thresholds, team responsibilities, and how data becomes daily action.
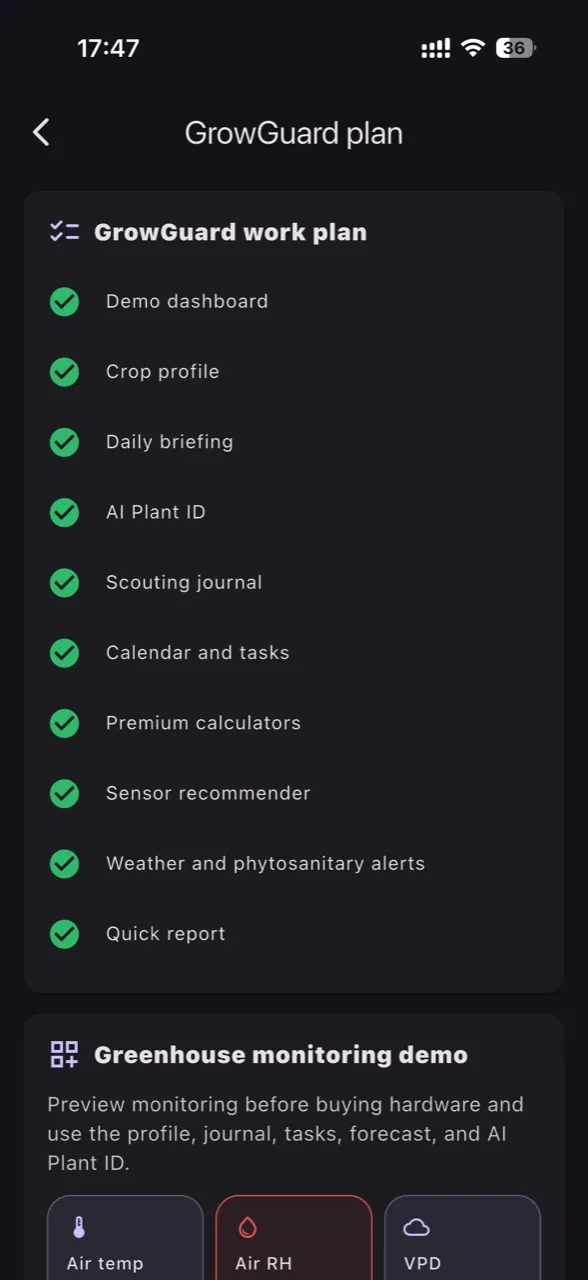
Whether you run a vegetable greenhouse, a flower farm, polytunnels, open-field production, an orchard, a vineyard, or you distribute horticulture sensors, the goal is the same: understand microclimate and soil/substrate dynamics well enough to make faster, more consistent decisions. GrowGuard supports this with live monitoring, a sensor map, forecast, reports, team access, and AI-assisted phytosanitary alerts (without claiming guaranteed outcomes).
Below is a clear 30-day plan focused on what to measure, why it matters, what GrowGuard helps you notice, and how signals turn into interventions: irrigation/fertigation, ventilation, heating, shading, phytosanitary risk management, and equipment health checks (battery, sensor status, connectivity).
Days 1–3: Define objectives and build your monitoring map (what you want to control)
Before sensor setup, clarify which decisions you want to improve. In horticulture, the most common are: irrigation and fertigation (when, how much, and at what concentration), climate control (when to ventilate, heat, humidify, or dehumidify), disease-risk management (leaf-wetness windows, persistent high humidity, conducive temperatures), and stress protection (heatwaves, frost, VPD too high or too low).
In GrowGuard, start by structuring the farm into zones: greenhouse compartments, tunnels, open-field blocks, orchard sections, vineyard rows/blocks, or substrate benches. Then build a sensor map: where microclimates differ, and where problems historically occur (cold corners, drafts, shaded rows, tunnel ends, poor-drainage areas).
Practically, a good map reduces the risk of making decisions from a single non-representative point. For greenhouses and tunnels, include at least one representative point at crop height and one in a known problem area. For orchards and vineyards: one point in a low area (frost/fog risk) and another on a different exposure. For flowers in compartmented houses: one point per compartment plus a reference point for the “general climate”.
Days 4–7: Sensor setup and connectivity (LoRaWAN, NB-IoT, MQTT, TTN API imports)
At this stage, the goal is stable, coherent data—not perfection. Check power, placement, and communication. GrowGuard supports connectivity commonly used on farms: LoRaWAN for long range and low power, NB-IoT where cellular coverage fits and you prefer minimal local infrastructure, plus MQTT integration for existing systems. For LoRaWAN projects, you can also use TTN API imports to bring data from The Things Network into one platform.
During installation, avoid mistakes that distort readings: air temperature/humidity sensors exposed to direct sun without shielding, placement too close to doors/fans, soil moisture sensors too close to a dripper or too far from the active root zone. For EC and pH in fertigation, be explicit about where you measure: tank solution, inline, drain, or root zone; each requires different interpretation.
After installation, open live monitoring and verify: values look plausible, updates arrive as expected, sensor status shows “online”, and battery levels are healthy. Use the sensor map to confirm each point matches the real-world zone on the farm. Solid setup means fewer false alarms and higher confidence in decision-making.
Days 8–10: Choose key indicators and working ranges (temperature, humidity, VPD, soil moisture, EC, pH)
In the first 10 days, the most important step is choosing the indicators that drive decisions. For most horticulture farms, a practical core set is: air temperature, relative humidity, VPD (vapor pressure deficit), soil/substrate moisture, EC and pH in fertigation, plus (where relevant) soil temperature and equipment health signals (battery, signal, uptime).
Why VPD: it helps you understand the plant’s transpiration “demand”, i.e., the balance between temperature and humidity. In greenhouses, VPD that is too low is often associated with higher condensation risk and increased disease pressure; VPD that is too high can indicate water stress or a need for shading/irrigation adjustments. Don’t treat VPD as the only truth—use it as a shared language connecting climate and irrigation.
Why soil/substrate moisture: it shows whether your irrigation program matches water-holding capacity and crop uptake. In open-field blocks, it reveals post-rain dynamics and how fast the profile dries. In substrates, it highlights overly long dry cycles (stress risk) or overly frequent cycles (low oxygen risk). Always correlate with temperature and light/ventilation patterns to understand causes, not just outcomes.
Days 11–14: Ground-truth your readings and correct placement (validation and operational calibration)
This is the step that separates a successful deployment from “nice-looking graphs”. Spend 2–3 days comparing GrowGuard data with field observations: perceived humidity across zones, temperature at leaf level, substrate feel at root depth, irrigation uniformity, and fertigation drain behavior.
If you see large differences, don’t assume the sensor is “broken” immediately. Most often, the cause is placement: too close to a heat source, on an outside wall, above standing water, in direct fan airflow, or in a spot that doesn’t represent the average irrigation pattern. Adjust placement in small steps and log the change in GrowGuard so you interpret shifts in the graphs correctly.
In parallel, build a discipline of checking status: battery, connectivity, latency, missing packets. A multi-sensor farm runs well when you have a maintenance routine, not when you only respond to emergencies. GrowGuard helps by making sensor status visible and by offering reports that highlight data gaps.
Days 15–18: Configure useful alerts (not too many) and zone-specific thresholds
Alerts are only valuable when they lead to action. At this stage, create a small set of alerts per zone for risks that genuinely cost money or time: minimum temperature (frost/stress risk), maximum temperature (sunburn/flower abortion risk), persistently high relative humidity (condensation risk), VPD out of range for multiple hours, soil moisture too low (stress) or too high (low oxygen), plus status alerts (low battery, sensor offline).
Avoid generic thresholds across the whole farm. A tomato greenhouse has different working ranges than a flower house, and a sloped orchard differs from a low-lying block. In GrowGuard, treat each zone as a “decision compartment”.
Also define “who owns the response”: the crop manager for agronomic alerts, the technician for connectivity/battery alerts, the team lead for fast on-site interventions. With team access, you can assign role-based visibility so each person sees what they need without drowning in charts.
Days 19–22: Turn data into daily routines (irrigation, ventilation, fertigation)
From this point, GrowGuard becomes an operating tool, not just a reporting tool. Set a daily 10–15 minute routine: check live monitoring by zone, review last night (minimums, high-humidity stretches), review soil/substrate moisture trends, and compare them to your irrigation plan.
For irrigation: watch how quickly moisture drops after an event and whether plants approach stress before the next cycle. If it drops too fast, adjust frequency or duration; if it stays high for too long, reduce input or improve drainage. In open fields, connect this to the forecast: wind and high temperatures raise demand, so you can prepare; expected rain can help you avoid unnecessary watering.
For fertigation: EC and pH are operational controls. If EC is outside the planned range, don’t assume the recipe is wrong immediately; check moisture level too (concentration rises as substrate dries), temperature, and drain behavior. pH influences nutrient availability; abrupt changes can indicate water issues, dosing faults, or mixing problems. Use GrowGuard reports to find recurring deviations, not just a single spike.
Days 23–26: Use forecast and AI-assisted phytosanitary alerts (informed prevention)
In horticulture, many losses come down to timing: when the risk window opens, when infection conditions occur, when you can access a block or a greenhouse for treatments, and when you can ventilate without overcooling. GrowGuard provides a forecast and helps you connect weather patterns with the measured on-site microclimate.
AI-assisted phytosanitary alerts do not replace an agronomist, but they can help you prioritize: zones where high humidity persists, nights with condensation risk, and combinations of temperature and humidity that may favor certain disease pressures. The practical goal is earlier response: increase ventilation in the right window, avoid heavy evening irrigation, and scout specific rows or compartments more closely.
In the same period, AI Plant ID is useful as a quick field identification tool for weeds, volunteers, or suspicious symptoms to speed up triage and team communication. Use it as a starting point and confirm decisions with a specialist and crop context.
Days 27–30: Reports, internal audit, and scaling (from pilot to farm standard)
In the final days of month one, run a short audit: which sensors produced stable data, where gaps occurred, which alerts were useful versus noisy. In GrowGuard, use reports to summarize min/max values, hours out of range, week-to-week trends, and equipment health (battery, offline sensors).
Then standardize: create threshold “recipes” by crop and season, define standard mounting positions, and decide where adding measurement points makes sense. For distributors and integrators, this is when you define a recommended package: the minimum sensor set for a small greenhouse, a package for open-field vegetables, a package for orchards/vineyards, and how to bring data from existing systems via MQTT or TTN API imports.
If you run multiple locations, use team access and farm/zone structure to compare operational performance—not as a promise of yield, but as control discipline. A mature deployment means decisions are documented: “we ventilated because VPD fell below range and humidity stayed high for 3 hours”, “we adjusted fertigation because EC rose as the substrate dried”, “we replaced the battery because status showed decline and avoided data interruption”.
Conclusion
The first 30 days with GrowGuard are about data trust and decision routines. If you choose the right measurements (temperature, humidity, VPD, soil/substrate moisture, EC, pH), perform careful sensor setup, monitor status (battery, online/offline), and configure zone-based alerts, you will notice deviations faster—those that lead to stress, wasted inputs, or increased phytosanitary risk.
GrowGuard becomes truly valuable when live monitoring, the sensor map, forecast, reports, AI-assisted alerts, and team access connect into a process: measure, interpret, act, verify. It doesn’t promise guaranteed outcomes, but it provides visibility and consistency to run a more predictable operation—across greenhouses, open fields, orchards, and vineyards.