On remote farms, across large orchards, or in broad-acre field crops, the limiting factor is often not the lack of sensors—it is the lack of stable connectivity. There is no Wi‑Fi, power can be unavailable at the edge of a block, and sometimes there isn’t even reliable “classic” 4G signal. NB-IoT (Narrowband IoT) addresses exactly this link: it sends small amounts of data infrequently, over long distances, with low power use, using the mobile operator’s network.
Unlike solutions that require your own gateway, NB-IoT is cellular: the sensor connects directly to the operator network on locally supported bands, using a subscription or an IoT SIM. This simplifies field logistics, but it shifts your attention to other risks: real coverage in micro-relief, correct power-saving configuration, and the practical “freshness” of data (how recent it is when it arrives and how often it updates).
Below is a technical explanation focused on commissioning: what NB-IoT means at the transmission level, which sensor types are worth choosing for orchards and field crops, and how to verify—step by step—that the system produces credible data. The examples are hypothetical and built to help you avoid the most common commissioning and interpretation errors.
1) What NB-IoT is and what problem it solves in the field
NB-IoT is a cellular LPWAN technology: it uses the mobile operator’s infrastructure, but optimizes transmission for small messages, tolerance to weak signal, and low energy consumption. In practice, an NB-IoT node periodically sends packets with measurements (for example air temperature, relative humidity, soil moisture) to a server. It does not hold a permanent connection like a phone; it transmits, gets confirmation, and returns to a power-saving state.
What to observe from the start: coverage is not the same as “I see bars on my phone.” Your phone may use LTE/5G while the NB-IoT sensor uses the operator’s NB-IoT band and profile; band compatibility and operator support matter. Independent verification: run a signal/attach test with the actual device (or an installer’s tester) at the real mounting point. Practical decision: choose NB-IoT when you want deployment without a private gateway. Result check: you receive steady data at the planned interval, without repeated gaps.
2) Data dynamics: freshness, intervals, acknowledgements, and loss
In agriculture you rarely need a “real-time” stream like video; you need data fresh enough for decisions: orchard frost events, heat stress, root-zone moisture evolution, or trends after rainfall. NB-IoT can support reporting intervals from minutes to hours, but every transmission costs battery energy. Delays can also occur: a message may arrive later if the device retries transmission or if the network is congested.
What to observe: the difference between measurement time and reception time (timestamp versus platform ingestion time). Independent verification: compare readings with a handheld instrument (thermometer, hygrometer, soil probe) and write down the exact time, then see when that change appears in your monitoring system. Practical decision: set intervals according to the phenomenon (hypothetically, more frequent for frost risk, less frequent for slow soil trends). Result check: the history does not show unexplained “saw teeth,” and any alerts trigger on recent data rather than delayed points.
3) Power configurations: PSM, eDRX, and how they relate to battery life
NB-IoT autonomy depends mostly on how often the sensor transmits and how long it stays “awake” to receive acknowledgements or configuration messages. Two concepts are common: Power Saving Mode (PSM), where the device sleeps deeply between transmissions, and eDRX, where it listens to the network infrequently for downlink messages. You do not need to memorize standard parameters; the mechanism matters: more sleep reduces consumption but increases latency for configuration changes.
What to observe: if you change the reporting interval, the effect may appear later rather than immediately because of listening windows. Independent verification: after a change, create a simple field “event” (for example, briefly shading the radiation shield or warming the enclosure slightly by hand without stressing components) and check when it shows up in the data stream. Practical decision: choose an energy profile based on site access (how often you can visit for battery replacement) and data criticality. Result check: battery declines gradually, not abruptly, and missing-data periods do not align with overly aggressive power-saving transitions.
4) Choosing sensors for orchards and field crops: what they measure, where, and limitations
In orchards and open fields, the minimum useful combination is usually microclimate (air temperature and relative humidity) plus soil (root-zone moisture). For late frost, the relevant variable is air temperature near sensitive organs, but it must not be artificially biased by direct radiation; for water stress, you need the dynamics of water in the soil profile, not only a shallow surface point. A temperature sensor does not measure EC or pH; for those you need dedicated probes installed in the correct medium (soil or solution).
What to observe: units and measurement medium. Soil moisture may be reported as volumetric water content (VWC) or as an index; soil EC can be “bulk” EC (in the soil mass) or EC of extracted pore water—these are not equivalent, and EC does not tell you the concentration of each nutrient. Independent verification: relate moisture readings to a soil sample (gravimetric lab method) or to infiltration/tensiometer observations if available. Practical decision: pick the sensor based on the decision you want to make (irrigation timing, frost warning, fertigation checks). Result check: curves make agronomic sense (hypothetically, after rainfall moisture rises at the correct depth with a logical delay).
5) Mapping and placement on the farm: micro-relief, depths, and representative zones
NB-IoT solves data transport, but it cannot correct a poor installation. In orchards, small elevation differences, windbreaks, and aspect can change nighttime minimum temperature; in field crops, soil texture and compaction create zones with different infiltration. For soil probes, depth must match the active root zone for the crop stage, and soil contact must be firm—air gaps distort the response to water and can make irrigations look ineffective or extreme.
What to observe: if two nearby points report differently, the difference can be real (a zone effect) or artificial (an installation artifact). Independent verification: a quick soil profile using an auger plus direct observation of moisture by layers, and a check of structure/density. Practical decision: define a few representative zones (hypothetically “slope,” “low spot,” “sandy patch,” “clayey strip”) and install one point per critical zone rather than “one sensor for the whole farm.” Result check: differences between zones remain stable over time and are explainable by relief/soil, not random.
6) An NB-IoT commissioning workflow: from box to credible data
A practical commissioning workflow has four stages: (1) compatibility precheck—device NB-IoT bands, operator support, active SIM/subscription; (2) coverage testing at the final point, not near the road; (3) correct physical installation (radiation shield for air temperature, water protection, secured cables, soil probe inserted without cavities); (4) data validation over 24–72 hours to capture day/night cycles and a water event (rainfall or irrigation).
What to observe: a “first connection” is not enough; the goal is consistent cadence and a believable trend. Independent verification: keep a field log (hypothetically: “12 mm rain today, 16:00”) and check whether the sensor shows an increase at the appropriate depth, not only an instant jump. Practical decision: do not enable critical alerts (for example frost) until the sensor has been validated under real conditions. Result check: after 2–3 days you can explain each major change by an observed field event or a predictable weather driver.
7) Failure cases and diagnosis: sensor, installation, or network?
The most common issues in agricultural NB-IoT are: data gaps (weak network, energy constraints, unstable attachment), “frozen” values (sensor lockup or internal error), implausible values (sun-exposed mounting, soil probe in an air pocket, water ingress in a connector), or slow drift (especially with chemical probes). The key is to separate three causes quickly: a real field phenomenon, an installation problem, or a communications problem.
What to observe: if the entire time series is missing, suspect connectivity; if data exists but is implausible, suspect the measurement chain. Independent verification: a spot measurement with a handheld instrument plus a physical inspection (mounting, sealing, radiation shield, chewed cable). Practical decision: before you act in the crop (for example, apply an extra irrigation), confirm with a second clue—nearby weather observations, soil sampling, or plant inspection. Result check: after remediation, the trend returns gradually to a coherent curve, not merely “looks okay” at a single point.
8) Bringing data into routine: alerts, local thresholds, and checking the effect
NB-IoT becomes valuable when it is embedded in routine: you look at data, make a decision, then verify the effect. In orchards, a hypothetical scenario is frost protection: you monitor falling temperature and relative humidity; VPD calculated from air temperature and humidity is an estimate of evaporative demand, but leaf temperature can differ from air. In field crops, the typical scenario is irrigation: you watch the slope of moisture decline and the response after irrigation or rainfall.
What to observe: thresholds must be adapted locally, not copied; they are established from history, phenology, and agronomic guidance validated for your species and soil. Independent verification: after an intervention, confirm in the field (moisture at depth, morning leaf condition, irrigation uniformity) and compare to the change in the sensor curve. Practical decision: set alerts for events with a clear action (frost, heat, low battery, accelerated soil drying). Result check: alerts shorten time-to-check, and interventions show up as measurable trend changes rather than “noise.”
Conclusion
NB-IoT is a strong option for monitoring on remote farms, orchards, and field crops when you want sensors that work without a private gateway and with relatively low maintenance. The key is not only the radio technology, but commissioning discipline: operator-and-band compatibility, testing at the final point, correct installation, and a few days of validation that includes real events (rainfall, irrigation, a cold night).
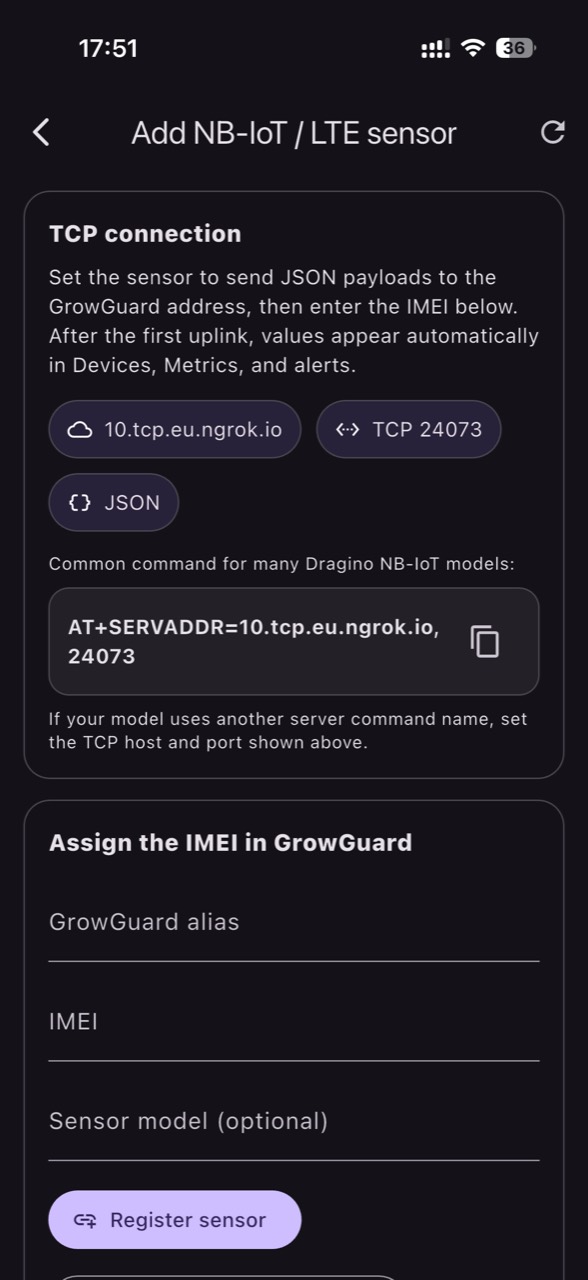
If you want to aggregate NB-IoT sensors alongside other connectivity types and view data by field zones, a monitoring platform such as GrowGuard can help with visualization and alerts—but the correct decision process stays the same: verify independently, act prudently, and confirm the effect in both data and the field. For a new project, start with a pilot block and expand only after the history is coherent.