In greenhouses, farms and orchards, the same question returns with every expansion: should sensors use LoRaWAN or NB‑IoT? A useful answer doesn’t come from “maximum range” promises, but from the mechanism: how a message travels from the field to your monitoring platform, who carries it, what happens when signal degrades, and what operating costs appear after installation.
In practice, the choice shows up in three places: coverage (and how you verify it), infrastructure (your own gateway versus a cellular network with a SIM), and energy (how often the device reports and whether it asks for acknowledgements). Then come the project breakers: payload size, reporting intervals, units and data freshness, plus onboarding and support during commissioning.
This article compares deployment criteria and explains commissioning steps you can check independently. You’ll see what to observe on site, what to test before buying dozens of sensors, and how to make a decision you can validate after installation. The examples are hypothetical, but track real situations: shaded orchard rows, metal-clad buildings, and blocks with no fixed internet.
1) How data travels: radio, network, and application are not the same thing
LoRaWAN is a radio network where end devices send packets to one or more gateways, and then data continues through a network server and an application server. NB‑IoT is cellular: the sensor talks directly to the mobile operator via the locally supported bands and technology. This mechanism matters because it determines who “owns” coverage and where failures occur: at the gateway, the gateway’s internet backhaul, the operator’s network, or the modem’s configuration.
What to observe: how often you truly need fresh data, and what breaks operationally when it’s missing. Independent verification: compare the measurement timestamp to the reception timestamp; delays can come from the network, or from a sensor that buffers data and uploads later. Practical decision: for frost or ventilation alerts, you want predictable delivery and fast alarming. Check the result with a disciplined 7–14 day trial using simulated events (for example, a sudden temperature change) and compare latency and losses.
2) Coverage: not “range”, but link budget in your exact location
In greenhouses and tunnels, metal frames, thermal screens, reinforced foils, and the structure itself can attenuate signal; in orchards, topography and canopy moisture can change propagation seasonally. With LoRaWAN, you gain flexibility through gateway placement (height, line of sight, antenna choice), but you still need internet backhaul at the gateway. With NB‑IoT, you depend on the operator’s coverage for the specific band and the sensor’s modem, without your own gateway.
What to observe: “lying zones” caused by intermittency—perfect messages during the day, then gaps at night or after rain. Independent verification: do a small survey using a test device at critical points, repeated at two times (for example, after irrigation and in dry conditions). Practical decision: if you have many micro-zones and can mount a gateway at a dominant point, LoRaWAN can stabilize local coverage; if you can’t ensure internet or access to a high point, NB‑IoT may be simpler. Check the result by analyzing delivery rate per sensor and correlating it with time-of-day and weather.
3) LoRaWAN gateway vs NB‑IoT SIM: who runs operations day-to-day
A LoRaWAN gateway means upfront cost and responsibility: power, internet, mounting, surge protection, maintenance, and troubleshooting. The benefit is control: move the antenna or add another gateway and you improve the network for all sensors. With NB‑IoT, the “gateway” is the operator’s network; operationally you manage SIM/eSIMs, activation, subscriptions, roaming policies, and reliance on operator support in your area.
What to observe: time-to-commission and the number of interventions after installation. Independent verification: for NB‑IoT, confirm the SIM type and plan in advance and ensure the sensor modem supports local bands; for LoRaWAN, confirm a stable path from gateway to the chosen network server. Practical decision: if you have technical staff (or an integrator) who can handle infrastructure, a gateway can reduce marginal cost per sensor; if you want fast deployment across scattered blocks, SIM-based sensors may fit better. Check the result with an intervention log: how many “field trips” per month happen due to connectivity.
4) Power and battery life: the reporting interval costs more than you think
Power draw is not determined only by the “protocol”, but by how often you measure, how often you transmit, how long you stay connected, and whether you request acknowledgements (acks). In LoRaWAN, short and infrequent packets can be very efficient, but confirmations and repeated attempts in weak-signal zones increase consumption. In NB‑IoT, bringing up a cellular session can cost more energy, yet power-saving configurations (such as cellular power-saving modes) and a realistic interval can make battery operation viable—depending on the network and modem behaviour.
What to observe: accelerated battery decline in sensors that look “identical” but sit in different places—often a sign of weak signal or retransmissions. Independent verification: request or measure current in key states (transmit and sleep), then estimate autonomy based on real intervals; don’t rely on “theoretical” battery life that ignores retries and losses. Practical decision: in greenhouses where microclimate changes quickly, set a compromise—measure frequently, transmit less frequently, but still capture enough points for alerts. Check the result by monitoring battery voltage trends and the number of retransmissions or missed messages after a month.
5) Payload, units, and data freshness: the practical limit for what you want to measure
Many agricultural sensors send small packets: air temperature, relative humidity, pressure, soil moisture, sometimes soil temperature. If you need more channels (for example, multiple soil depths or multiple probes on one node), payload size and transmission frequency become critical. Whatever the network, you must know the exact units: soil moisture may be volumetric water content or a vendor-specific index; EC must be specified by medium and method (in a nutrient solution, in a substrate, or derived by a specific technique); and a temperature sensor does not measure EC or pH—those require dedicated probes.
What to observe: “good data, wrong decisions” is commonly caused by unit confusion or by stale data displayed as if it were live. Independent verification: compare a sensor reading to a suitable reference instrument (a calibrated thermometer, a verified soil moisture reference, a conductivity meter for solution EC) and write down what deviation is acceptable for your decision. Practical decision: if you need trends more than perfect absolute values, prioritize consistency and correct timestamps. Check the result with periodic audits: a chart of “measurement time versus reception time” and a monthly verification against a reference point.
6) Latency and alert reliability: when “arrives later” becomes useless
In horticulture, some alerts are time-critical: orchard frost, high temperature in a tunnel, humidity rising toward condensation. Latency can come from the network, congestion, retries, or a sensor policy that transmits only on a fixed schedule. LoRaWAN can deliver quickly when a gateway is well placed, but gaps can appear if a device sits on the edge of coverage and shifts radio parameters. NB‑IoT can also have delays depending on cellular coverage quality and connection negotiation, especially in marginal areas.
What to observe: the gap between “I measured” and “I alerted”. Independent verification: run a hypothetical commissioning test—place a sensor in a colder spot (for example, near a greenhouse door that opens), then check whether the alert arrives before your team has already passed the useful response window. Practical decision: for critical alerts, design thresholds and hysteresis so you don’t depend on a single packet; also use context (such as forecast) to raise attention earlier. Check the result after 2–3 real events: compare logs with field observations and adjust transmit interval or placement.
7) Support, interoperability, and integration: what “works with my platform” really means
In LoRaWAN, correct integration means: device profiles, keys, payload decoding, and mapping channels into the right fields. Data can then be forwarded using an application protocol such as MQTT; it’s important not to compare MQTT with LoRaWAN or NB‑IoT—MQTT is not coverage, it’s an application messaging layer. In NB‑IoT, integration is often more “direct” from the vendor, but you depend on their implementation choices (format and transport) and on how they handle roaming or operator changes.
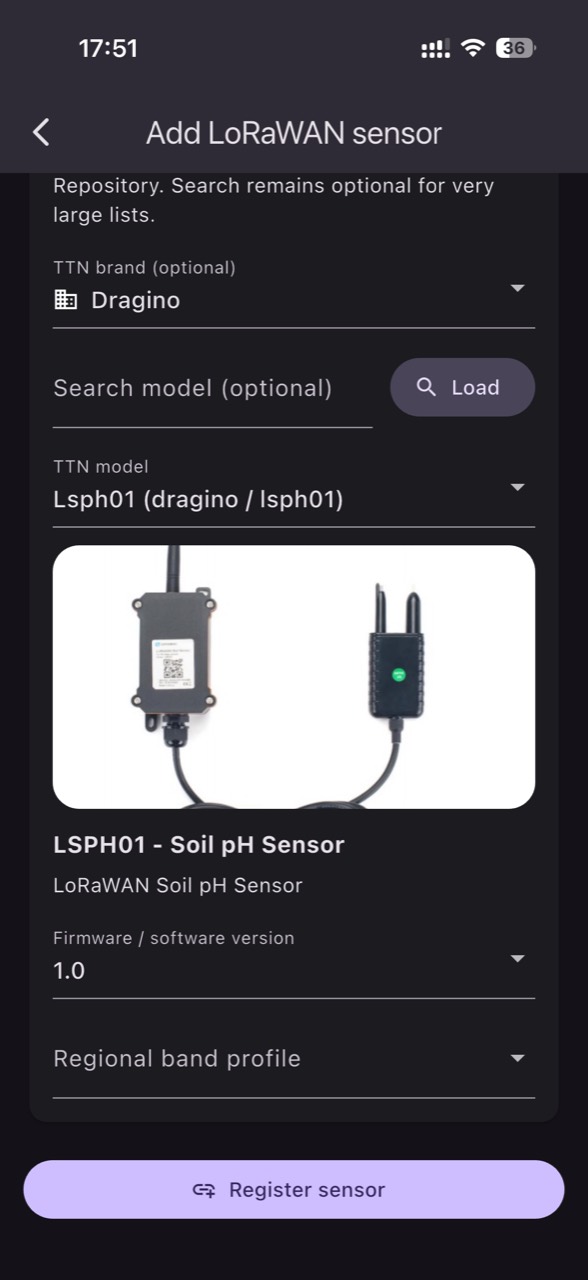
What to observe: how easily you can change a sensor model or supplier without losing history or rewriting your whole data flow. Independent verification: ask for a real payload example (hex or JSON) and check that it includes an identifier, a measurement timestamp, units, and status fields (battery and errors). Practical decision: choose ecosystems with clear decoding and documentation and a standard integration path; for example, The Things Stack can expose LoRaWAN application data via MQTT, which may simplify connecting to a monitoring platform such as GrowGuard without confusing component roles. Check the result with a “replacement test”: temporarily swap one sensor for another model and confirm that trends remain coherent.
8) Farm commissioning: a procedure that catches typical failures
Regardless of network, projects rarely fail for one reason; more often it’s combinations: poor placement, unsuitable intervals, misinterpreted units, and missing verification routines. Good commissioning starts with a map of production zones: in a greenhouse you can have differences at ends, along sidewalls, and near ventilation; in an orchard you have exposure differences and temperature inversions; in open fields you have texture and drainage variation that changes soil-moisture behaviour.
What to observe in the first weeks: consistency between nearby sensors, correlation with events (irrigation, venting, rainfall), and the appearance of data gaps. Independent verification: schedule manual checks—for example, after an irrigation event, check at a relevant depth whether soil actually wetted; if the sensor shows no change, placement or soil contact may be the issue, not the network. Practical decision: adjust placement and intervals first, then alert thresholds; only then decide on scaling up. For data handling, a platform such as GrowGuard can help by showing sensors by location and making it easier to separate a network problem from a microclimate effect, but the result is still validated in the field through repeatable events, an action log, and graphs.
Conclusion
LoRaWAN and NB‑IoT can both work extremely well in agriculture, but the right choice comes from criteria you can verify: coverage at critical points, who manages infrastructure, how battery behaves when signal degrades, the payload you need, and how fast an alert must arrive. When you separate radio/network/application layers and you audit units and timestamps, you reduce the risk of buying sensors that “look good” but don’t support field decisions.
A robust way to decide is to run a hypothetical but disciplined pilot: 2–4 sensors in the hardest zones, 7–14 days of observations, manual checks after events, and a review of losses and latency. If you want to centralize LoRaWAN, NB‑IoT, or MQTT-fed sensor data for a team with operational alerts, you can also evaluate an integration into GrowGuard; the key is that the final decision is proven by measurements, not promises.