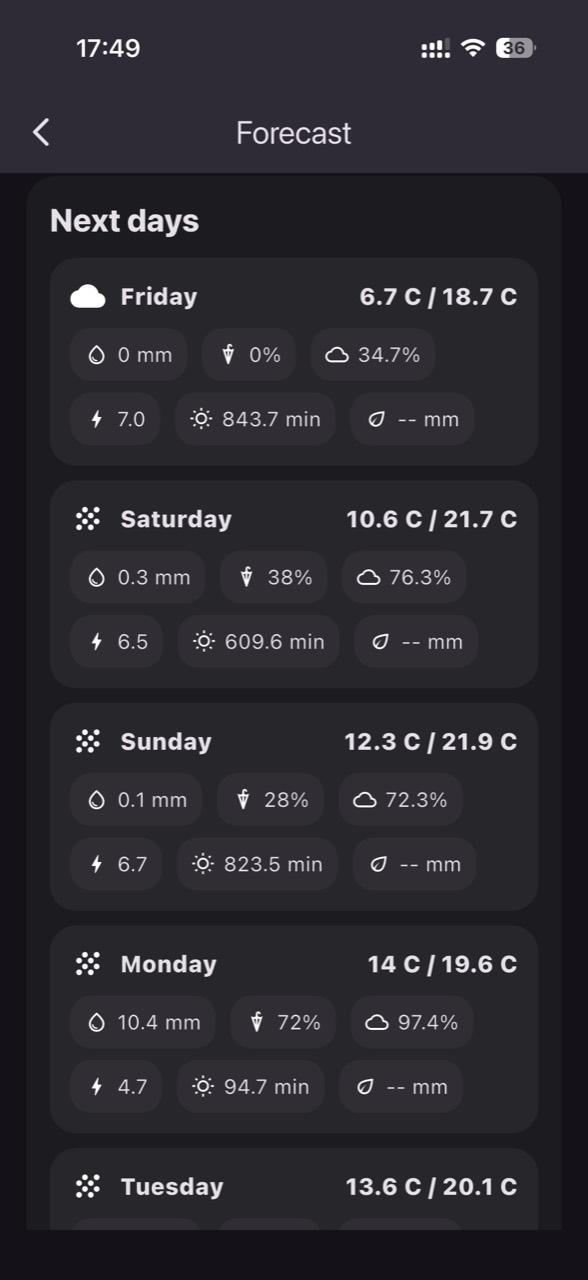
In commercial plum orchards, risk does not come only from “the weather” but from differences between blocks: cold depressions, wind-exposed ridges, soil textures that dry at different speeds, and irrigation that is not perfectly uniform. That is why two “correct” readings can still drive opposite decisions if you do not know what each point represents and which part of the orchard it describes.
Monitoring drought and frost is valuable only if you can quickly separate three things: what is really happening in the crop, what the sensor is measuring correctly, and what is a placement or maintenance error. In plum, sensitive moments include early phenological stages and fruit growth periods, when water stress and thermal shock can affect fruit set, size, and overall quality.
This guide is built as a diagnostic tool. For each issue you will find the mechanism (drought, frost, persistent wetness), what signs to look for in the orchard, what to verify independently of sensors, what intervention makes sense, and how to confirm after the event that you solved the cause—not just “calmed down” a chart.
1) Understand microclimate: one plum orchard can contain three orchards
Orchard microclimate is shaped by topography, air drainage, windbreaks, surrounding vegetation, canopy density, and soil moisture. Low areas trap cold air on clear nights; wind-exposed areas lose heat and water faster through evapotranspiration; light soils dry quickly, while heavy soils can stay cold and wet and delay phenology. In plum, these differences change both frost risk and growth pace, so block-to-block comparisons must start with landscape reality.
Watch simple indicators that confirm a microclimate map: frost forming on grass only in certain corners, delayed budbreak along specific rows, different drying times after rain, or leaves that stay glossy (wet) longer in shaded pockets. Verify independently with a sunrise walk after cold nights and spot manual checks (a portable thermometer and a soil probe). Practical decision: divide the orchard into risk zones before setting thresholds or alerts. Check the result by looking for consistent differences in history over several weeks.
2) Temperature sensor placement: frost is measured where it happens
For frost, height and shielding matter. A sensor installed too high—near a shed roof, for example—can miss the cold inversion layer that damages flowers. A sensor in direct sun can overheat during the day and distort night-risk interpretation. Protocol: mount the sensor within the active canopy zone (where buds and flowers are), protected from direct sunlight and from radiating surfaces (walls, metal), while still in well-ventilated air. The goal is to track the air the organs experience, not a convenient mounting spot.
The mechanism also differs by frost type: radiational frost (clear sky, low wind) creates strong stratification, while advective frost (cold wind) tends to be more uniform. As a diagnostic, compare two sensors: one in a depression and one in an “average” area. If only the depression drops much earlier and further, air drainage is the issue; if both fall similarly, a cold front is likely. Verify independently with a reference thermometer next to the sensor for 10–15 minutes. Decision: separate zone alerts. Result check: after the critical night, correlate each zone’s minimum with flower/bud symptoms.
3) Soil moisture: are you reading the root zone or a water bubble?
In orchards with localized irrigation, the most common trap is placing a soil-moisture sensor in a non-representative spot: too close to the dripper (it always looks “fine”), too far (it always looks “dry”), or in a compacted patch where water pools. The mechanism of water stress in plum includes stomatal closure and slowed growth; fruit may stay small, and during heat events you can see sunburn and physiological drop. The sensor must “see” the active root zone, not extremes.
Verification protocol: after an irrigation cycle, follow the moisture curve; it should rise, then gradually decline. If it stays flat, the sensor may have poor soil contact or you may have a sector that is not irrigating. If it jumps sharply and stays high for a long time, it may sit in a preferential flow channel or the site may drain poorly. Verify independently by opening a small inspection pit or using an auger to assess moisture by depth. Decision: reposition or add a second sensor at another distance from the drip line. Result: coherent curves between points and a visible tree response over the following days.
4) Drought or irrigation fault: how to separate causes quickly
When one zone looks “dry” on sensors, the cause is not automatically lack of water in the whole block. It could be partially clogged lines, a fouled filter, low pressure at the end, a valve that does not open, or a soil difference. Mechanism: with localized irrigation, trees depend on a small soil volume rewetted repeatedly; any interruption shows up quickly as declining available water. In plum, stress during intense fruit growth can leave marks on size and uniformity.
Hypothetical diagnostic steps: if the sensor shows continuous decline while the irrigation schedule has not changed, first check whether there are clear “pulses” after watering events. Then compare with a sensor in another zone on the same valve or supply; if only one row or corner is affected, suspect local distribution. Verify independently by checking end-of-line flow, pressure, and wetting uniformity at the soil surface (wet patches). Decision: fix the technical issue before increasing irrigation duration. Result: after repair, the sensor should respond immediately to the next cycle and then return to a normal decline pattern.
5) Leaf wetness, humidity, and frost: “alarming” readings that may be normal
In cool, wet periods, leaf wetness and high humidity can suggest phytosanitary risk, but they are not pathogen detection. In plum orchards, persistent wetness can increase pressure from brown rot and foliar diseases, yet interpretation must be tied to phenology, temperature, and wetness duration. The microclimate mechanism is straightforward: a shaded or poorly ventilated pocket can keep leaves wet long after the rest of the orchard dries, and a sensor deep in the canopy can overestimate wetness duration compared with the canopy exterior.
What to observe: differences in drying after rain, dew on grass, morning condensation on shoots. What to verify independently: inspect leaves and blossoms in that area, look for early signs, and check whether humidity stays high into the day. Practical decision: do not conclude from a single sensor; compare with a more ventilated zone and relate the pattern to temperature history. In GrowGuard, zone alerts for long leaf-wetness periods can be set as a scouting prompt, not a verdict. Result check: record whether ventilation-focused actions (pruning, grass management) consistently shorten wetness duration over subsequent weeks.
6) Real frost or wrong reading: radiation, shielding, and power errors
Suspicious temperature readings often come from mounting errors: direct sun exposure (radiative heating by day), placement near the trunk (thermal inertia), over dark bare soil (greater daytime heating), or where sprayed water freezes on the housing. Mechanism: on clear nights, objects radiate heat and cool differently than surrounding air; a poorly shielded sensor can show extremes that do not represent the air around a bud. More rarely, a weak battery or unstable connection can create “jumping” values that look like sudden weather changes.
Confirmation protocol: when you see an unexpected minimum, first check coherence with nearby sensors and with physical behavior (a smooth decline versus a sudden step). Then do a manual control measurement next to the sensor. Also check data “freshness”: a stale value can be mistaken for live conditions. In GrowGuard, sensor status alerts help separate a crop issue from a sensor or network issue. Decision: do not trigger costly interventions from a single abnormal reading. Result: after correcting mounting, the curve becomes smoother and better correlated with the rest of the orchard microclimate.
7) Comparing blocks: when the difference is agronomic, not technical
If two zones show different soil moisture, do not assume one sensor is lying. The difference can be real: different texture, gravel content, an impermeable layer, slope position, or different fruit load (different water use). Mechanism: in plum, blocks with high vigor and dense leaf mass can transpire more; at the same time, heavy soils may hold water but provide less oxygen after rain, creating mixed stress (excess water plus root hypoxia). Sensors can reveal these realities if you interpret them as zone behavior, not instrument conflict.
What to observe: vigor, leaf color, shoot growth, and ripening differences. What to verify independently: a soil profile description and an irrigation-uniformity check in each zone. Decision: define distinct crop zones and compare only like-with-like points; otherwise treat the difference as information, not error. In GrowGuard, mapping by zones helps you avoid using one threshold for a cold pocket and a dry ridge. Result: after adjustments, differences may persist, but they become explainable and useful for planning rather than a source of confusion.
8) Post-event verification: proof that the intervention worked
After a frost-risk night or a drought period, the most important step is the audit: what happened, where, and why. Mechanism: frost can damage tissues without immediately visible symptoms, and water stress can have delayed effects on fruit growth. That is why verification is not just “the alert stopped.” You must connect data to orchard observations and to the timeline of interventions (irrigation changes, field work, protection actions). Without this step, you risk repeating the same mistake next event.
A practical (hypothetical) protocol: mark on a map the zones where minima were lowest and compare them with a reference area. Do a quick assessment of flowers or buds, then return a few days later to confirm. For drought, compare moisture curves before and after irrigation changes and watch whether the daily decline returns to a stable pattern. In GrowGuard, history and reports can help document the event for the team. Decision: adjust sensor placement and zone thresholds for next season. Result: fewer unconfirmed alarms and earlier, better-targeted interventions by microclimate.
Conclusion
In plum orchards, the “problem” is rarely a single number; it is the difference between zones, the phenological moment, and the quality of measurement. A good protocol starts with a microclimate map, continues with correct sensor placement (where the phenomenon occurs), and ends with independent field checks. When you connect data to symptoms and to irrigation infrastructure, you can quickly separate real drought from poor distribution and real frost from misleading readings.
If you want to work by zones and compare microclimates without getting lost in graphs, a platform like GrowGuard can help through map-based visualization and location-specific alerts—provided you start with correct installation and validation. One final invitation: treat every alert as a hypothesis to verify, not a verdict, and the orchard will give clearer answers season after season.