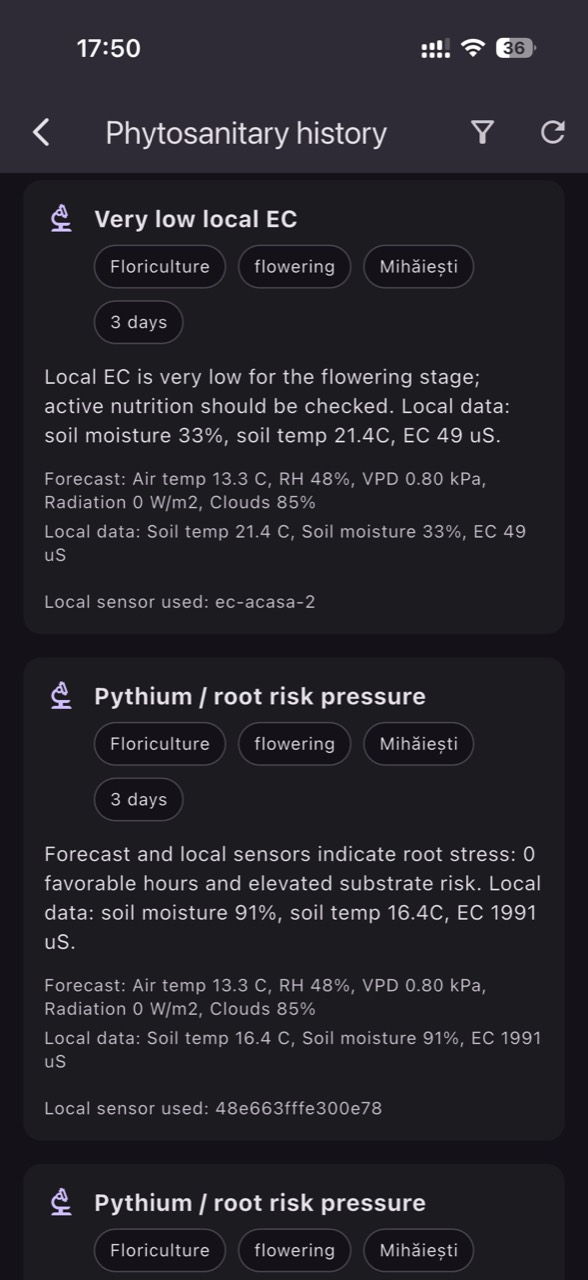
In vineyards, disease risk does not rise simply “when it’s humid,” but when specific combinations of water on the leaf, temperature, and duration line up. The biggest operational mistake is treating a large block as an average: downy mildew often starts in cool, wet spots, while powdery mildew can escalate in warmer, sheltered areas.
Leaf wetness is not the same as air humidity. A night with high relative humidity may leave no wet leaves, while a brief shower or dew on a shaded slope can keep a water film for hours. For vineyard managers, what matters are windows: when conditions existed for infection and how unevenly those conditions occurred across microclimates.
Alerts from platforms and models can be very useful, but only when commissioned and used as a prioritization tool—not as a “pathogen detector.” Decisions improve when you connect biological mechanisms to field observations, independently verify sensors, and then track outcomes after interventions: lower pressure, or only delayed symptoms. This article explains that discipline.
1) Why wet leaves matter more than “it was humid”
Downy mildew (Plasmopara viticola) needs free water on the leaf for spores to germinate and initiate infection. In practice, two situations that look similar at a weather station can have opposite effects: high relative humidity with no real condensation on leaves versus rain/dew that leaves a persistent film. Temperature modulates the speed of the process, so the risk window is not just “wet,” but “wet at a favorable temperature” for long enough.
What to observe in the field: shiny leaves early in the morning, delayed drying after rain under a dense canopy, differences between rows with different orientation, and between the bottom of a slope and the crest. What to verify independently: if the leaf-wetness sensor reports long wet periods, confirm at least once visually after a dew/rain event. Practical decision: prioritize scouting and preventive measures where leaves stay wet longest. How to check the result: track whether the first downy mildew spots appear in those “cold points,” or whether pressure shifts—signaling your zoning needs adjustment.
2) Vineyard microclimates: where the first risk windows open
In commercial vineyards with differences in slope, exposure, and soil, microclimate can change wet-leaf duration and nighttime temperature enough that two subzones experience different “epidemiological days.” The bottom of a slope collects cold air and moisture; shaded areas have less wind and radiation, so drying slows. Conversely, a ridge may dry quickly but stay warmer at night, which changes the dynamics for powdery mildew.
What to observe: where fog lingers, where dew forms first, where leaves dry last after irrigation/rain, and how blocks with denser canopies behave. What to verify independently: compare data from two points (top/bottom, shaded/exposed) during the same night; if the contrast looks “too perfect,” placement may be wrong. Practical decision: establish “sentinel zones” for scouting and, when operationally possible, differentiated treatments. How to check the result: after each wetness episode, note where you found the first signs; if field findings don’t match data, adjust monitoring points—not just alert thresholds.
3) Downy mildew: the infection window and how to turn it into actions
For downy mildew, the operational sequence is: inoculum source + wet leaves + favorable temperature + sufficient duration. You will not “see” infection immediately; there can be a delay between a favorable event and symptoms, and that delay depends on conditions and phenology. That is why data should indicate you entered a possible window, not confirm disease. Also, wetness inside the canopy can persist longer than wetness on exposed leaves.
What to observe: after a rain/dew episode, inspect young leaves and shaded zones for early oil spots, especially where drying is slow. What to verify independently: if the alert relied on leaf wetness, ensure the sensor was not “fooled” by persistent splashing (for example from nearby overhead water) or deposits on the sensor surface. Practical decision: use the alert to trigger targeted inspection and plan preventive intervention according to your technical strategy and product labels. How to check the result: after the next significant wetness event, re-inspect the same points; if pressure increases there again, the window was real and control was insufficient or late.
4) Powdery mildew: high risk even without continuous wet leaves
Powdery mildew (Erysiphe necator) can develop without a free-water film on the leaf; often, moderate humidity and favorable temperatures are enough, and persistent wetness can even reduce sporulation under some conditions. This changes how you use sensors: for powdery mildew, air temperature and humidity (and the canopy microclimate) are often more informative than a leaf-wetness sensor. In sheltered zones, reduced air movement increases risk.
What to observe: vigorous shoots with short internodes, overlapping leaves, heavy shading, and zones where air “stands.” Early signs can be subtle (powdery patches on upper leaf surfaces, susceptible berries at key phenological stages). What to verify independently: correlate humidity/temperature alerts with canopy density; if your readings look “good” but the canopy is excessive, a risk model may underestimate what happens inside. Practical decision: use the climate window to prioritize canopy-opening work (when timing and technology allow) and to adjust your scouting and protection schedule. How to check the result: after canopy management, watch whether time at high humidity inside the canopy (or the inside/outside gap) decreases and whether new symptoms slow in those zones.
5) What to measure: leaf wetness, temperature, humidity—and why units matter
A robust protocol starts by distinguishing measurement media and methods. Air humidity is a percentage; leaf wetness is a state (wet/dry) or an interpreted analog signal; temperature is in °C, yet the leaf can be at a different temperature than the air. VPD calculated from air temperature and relative humidity is an estimate of evaporative demand, not a direct leaf measurement. In vineyards with strong radiation, leaves can heat above air temperature, changing real risk and drying rates.
What to observe: if VPD suggests “dry” yet you see consistent morning dew, it means nighttime conditions differed and you must review hourly history, not daily averages. What to verify independently: compare temperature and humidity between different points at the same hour; if one stays unusually constant, suspect shielding issues, direct solar radiation on the sensor, or insufficient ventilation in the housing. Practical decision: commission alerts based on duration (for example, continuous leaf wetness for a defined time), not only instantaneous threshold crossings; for temperature/humidity, use relevant hourly windows (night/morning). How to check the result: after an event, confirm the alert matched what actually happened in the vineyard (dew/rain, drying), not only what the charts looked like.
6) Sensor choice and placement: avoiding measurement of an “exception”
The right sensor, placed wrong, drives the wrong decision. For leaf wetness, placement must represent an average canopy leaf—not one constantly splashed, and not one fully exposed to wind. For temperature and humidity, the sensor must be protected from direct radiation and adequately ventilated; otherwise it reads too warm by day and can underestimate humidity. In vineyards, the difference between a row interior and a row end can be large due to air currents.
What to observe: if leaf wetness appears every night “all night,” regardless of weather, suspect placement (splashing, runoff, vegetation contact) or deposits that hold water. What to verify independently: after a rain event, compare when real leaves dried with when the sensor returns to “dry”; if a consistent bias exists, the sensor does not represent the canopy. Practical decision: install at least two points in heterogeneous blocks: top/bottom of slope or shaded/exposed. How to check the result: after relocation, confirm that differences between points become plausible and that alerts align with field observations.
7) Commissioning alerts: windows, persistence, data freshness, and typical failures
A useful alert is not just a threshold; it is a contextual rule: duration, time window, and data quality. During commissioning, first define what “relevant event” means for you—such as continuous leaf wetness for a specified duration associated with favorable temperatures. Then verify data freshness: if a sensor transmits rarely or with delays, the alert may arrive after the window has passed. Also build integrity conditions into your workflow (battery, signal, absence of gaps), because missing data can mimic “safe” conditions.
What to observe: cascades of alerts on clear days usually indicate either condensation on the sensor (not on leaves), an overly sensitive rule, or delayed data compressing the apparent history. What to verify independently: before changing thresholds, confirm the real weather event (rain, fog, dew), then inspect the sensor physically (dirt, position, contact with shoots). Practical decision: use alerts as a trigger for scouting and planning, not as an automatic trigger for treatment. In GrowGuard, alerts can be set by zone, helping you avoid reacting to a block “average.” How to check the result: after adjustments, evaluate several different weather events; a good rule doesn’t alert constantly, but it also doesn’t stay silent during clearly risky episodes.
8) Using alerts responsibly: from “risk” to decision and post-event audit
A risk window is not a sentence; it is a higher probability. A responsible protocol is: (1) alert/climate observation, (2) quick inspection in the most vulnerable points, (3) technical decision (prevention, intervention, or justified delay), (4) audit of the outcome. Vineyard production constraints are real: machinery access after rain, re-entry and pre-harvest intervals, phenology, pressure from neighboring blocks, and cultivar tolerance. Your decision must integrate these constraints rather than mechanically follow a notification.
What to observe: if one zone alerts frequently yet you never find symptoms, either your protection is effective or the model/sensor overestimates local wetness. What to verify independently: confirm by systematic scouting—the same points, the same method, documented comparably. Practical decision: use differences between zones to order the team’s work: inspect the slope bottom and shaded areas first, then the rest. In GrowGuard you can review zone history to justify why you prioritized a block, but field verification remains essential. How to check the result: after an intervention or a wait period, compare symptom appearance between zones; if the “high-risk zone” stays clean, you learned something about microclimate, spray coverage, or alert settings.
Conclusion
Leaf wetness and temperature are not merely “weather indicators,” but parts of the mechanism that lets downy mildew and powdery mildew seize the right window. In uneven vineyards, microclimate determines where problems appear first: at the slope bottom, in shade, or in dense canopies where leaves stay wet longer or air stagnates. When you connect data to observations and verify sensors, alerts become a management tool rather than a panic generator.
Aim for a complete loop: climate event → alert → field check → decision → audit after the next relevant wetness episode. This prevents both under-reaction and “average-based” spraying. If you use GrowGuard, keep alerts zone-based and periodically confirm data freshness and integrity so you don’t confuse a measurement problem with a phytosanitary one. For finer configurations, a short internal workshop with your team on where your vineyard’s first risks appear is a worthwhile start.